
Sunday Evening Drill – Tutorial for Photographers
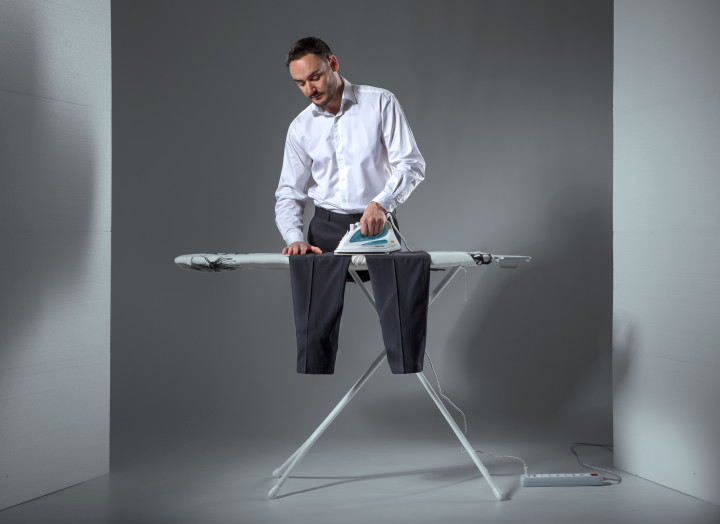
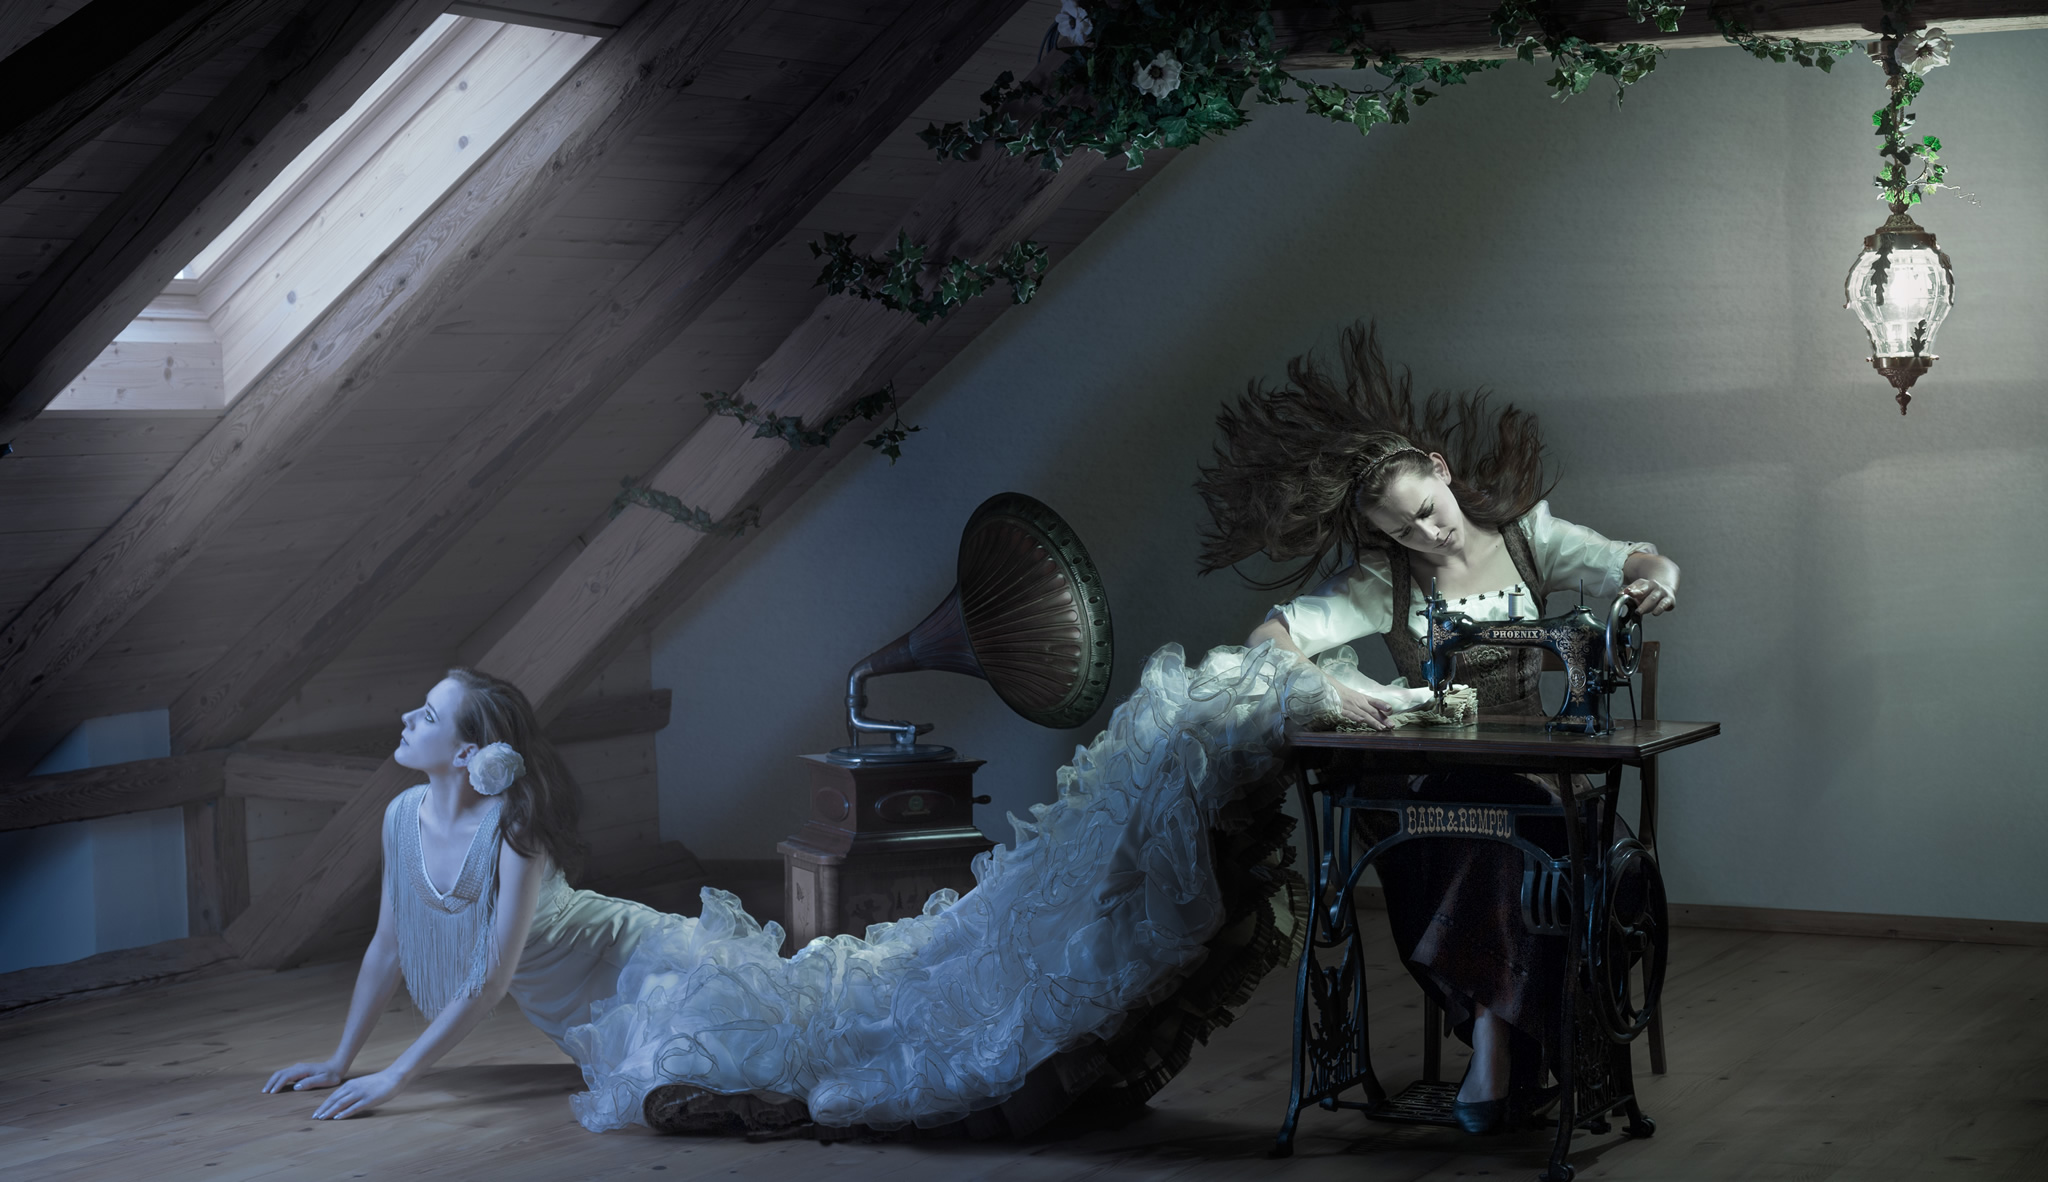
This photo is part of a series about the work and attention most of us give to their image, both personal and professional. The first photo of this series was called “Seamstress Of Her Own Destiny” and has won a couple of awards and publications. So I decided to continue on this path and apply it to the business world. As luck has it, my brother is quite a succesful business man in the financial software industry. He was delighted to be part in one of my projects. There is always a visual twist in my photos, something that lifts the subject out of reality and into a kind of neighbor reality, where things are just slightly different to ours. The twist here is blatantly obvious, but compared to other realities I constructed, like the fairies in the lamps, this one was very easy to pull off. One hour of setting the lights up at my studio, half an hour of shooting and about an hour of post-production. That’s about 1/20th the time other projects have taken!
Stageing the shot
There are two main exposures necessary to get this shot. The model wearing the pants standing behind the ironing board holding an iron down and a second exposure of the pants layed across the board. We used pins to fix the upper end of the pants to the board’s metal frame. But in order to make sure that the ironing board stays exactly the same from shot to shot, as well as have reference points for the model’s position, we used tiny pieces of tape on the floor. This only takes a couple of seconds but saves me a lot of time in photoshop, because everything is already where it is supposed to be in every frame. The two images were combined underneath his hands and the iron, which we took both away for the second shot. All I had to do was add shadow underneath the hand and the iron – e.g. the shadow the iron would cast on the pants underneath. This was one easily with a separte curve layer with a clipping mask to the lower layer with the pants on the board. Originally we wanted to try to add shoes to the end of the pants and stuffed in some packing materials into the pant legs. In a third shot, the model would sit on two boxes and dangle his feet in the right position. But even on the set I wasn’t sure if it’s going to look cool, or if it will just distract from the pants. A quick mockup in Photoshop confirmed this, the feet didn’t bring anything new to the image and were best left away.
Lighting
There are two reflective polystyrene board on the sides both as reflectors and as shapers for the room. The mainlight was a beautydish with a grid to the front and left of the model pointing down at him. A gridded striplight was hitting him from behind and right, behind the right polystyrene board. And lastly a gridded snoot was sitting on top of the background, a white lastolite vinyl backdrop on manfrotto autopoles. The reason for all lights using grids was that I wanted to keep the background at least grey, in order to have some separation.
For the lighting I used exlucively Elinchrom studio strobes triggered with PocketWizard PlusIIIs.
Post-Production
The composite was done within 10 mins, it was that easy. I just put the two photos on separate layers and used a layer mask to bring in the layer with the pants on the board, also watching how the shadow changed accordingly. The white shirt and dark pants gave me a little bit of a problem, but since I shot in raw and made sure neather of both were clipping, I was able to use curves on both of them to bring in some detail in the highlights and shadows, by steepening the curves where the histogram shows a lot of accumulated brightness levels. I also do this on people faces when the flash is too broad. I am sure you are familiar with this problem. You light someone with a supposedly flattering light source – i.e. a big soft light, but when you look at the photo in Photoshop, there is just very little brightness transition in the people’s face. You don’t wan’t to just reduce the size of the softbox, because that would make shadow edges hard and nasty. That’s why I increase the contrast on people skin, at least in the brightness range of their face that is exposed to the main light. You could as well try and use a Shadow/Highlight adjustment on a copy of your layers, this let’s you define some highlights and shadows as well, but it quickly gets a little HDR-y which I dislike.
Recently someone told me to simply take of the diffusion material of the softbox, this would create a hotspot which defines the skin tones much more interestingly. I’ll have to try that.
The last step was some dodging and burning, especially to exagerate the folds in the shirt and pants.
My brother and me had a great time and he was even a little disappointed, that the shoot was only half an hour. I hope I was able to inspire you and try something similar yourself. I think as long as you have a tripod, you can even do this with natural light in your own living room 😉
Great work….love it, thanks for sharing how you do this…well done
Great, funny, intelligent. Well done.