
Introduction and Theory of Underwater Photography
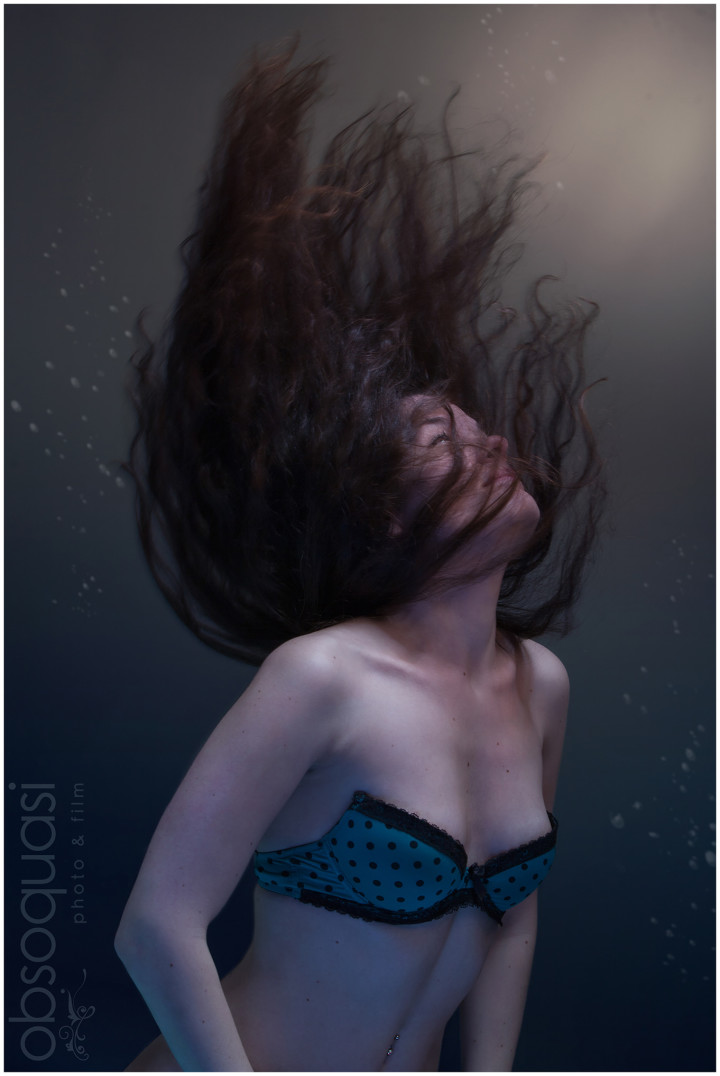
This photo has been part of a recent series to experiment how close I can get to the look of a real underwater shoot using just studio lighting equipment and make-up. For this purpose I collected a couple hundred of photos from fashion, lifestyle and conceptual shoots – all shot underwater. I observed a few key elements, and me and my model consequently tried to incorporate each of those to fake underwater photography:
- there are no specular highlights underwater
- the relative gravitational force is reduced, especially hair and cloth will take much longer to settle down and will be easily moved by water currents
- the light from the surface is comparably warm while the light reflecting off of the bottom (e.g. sand) will be much cooler.
- In general the farther the light travels underwater, the cooler it gets. Light loses its intensity much faster underwater – no inverse-square-law here, more like inverse-cubic-law, but don’t quote me on that 🙂
Approaches to Faking Underwater Photography
This led us to use the following techniques to mimic these effects:
- we covered the model in make-up and reapplied some when it became necessary. Also in the places where there still where specular highlights, I blurred them selectively (using a mask created using the color channels blue and green).
- while wet hair would have seemed to be the obvious choice, it would actually have proven disastrous! In air the water tension would have let her hair clump together which definitely would have not looked like free-flowing, wavey hair. So it had to be dry and well brushed. The model then threw her hair back starting in a crouching and bent-over position and I had to nail the right moment. Not easy! Her instictive fear of being smacked in the eyes with a strand of hair took a toll on her expression. But mostly I just didn’t hit the shutter in the right moment :).
- there were 5 studio strobes in use her (see lighting information further down)
- we had to imitate this by using a lot of strobes at different distances – two from above and two from bellow. The background gradient was intensified in photoshop.
Lighting Information
We used Elinchrom studio strobes for this photo in combination with a large Lastolite vinyl backdrop. The strobes were position and outfitted with gels as follows:
Mainlight: strongly orange-gel’d (2 stops) beautydish with a grid directed towards the model’s face at about a meter’s distance. This beautydish was more or less directly above the model.
Fill light from above: medium-sized grided softbox with a 1-stop CTO facing towards the models chest at about 1.5 m distance, this softbox was a little closer to the camera then the beautydish.
Fill light from bellow #1: medium sized square softbox at a low power setting with a full CTB gel inside. The softbox was basically just sitting on the ground without a light stand, tipped to the side so the light pointed upwards towards her belly.
Fill light from bellow #2: a green-gel’d small beauty dish pointing into the white ground right at the model’s position. This created the green shimmer on the lower part of her body
Background light: a standard reflector with a 12 degree grid and another full CTO gel angled in the upper right corner.
Post Production
Apart from the usual beauty retouching, for which there are a zillion tutorials on the web, the photoshop layers that were most influential on the image were the following:
- a cyan/blue solid color layer in “color” blending mode at 4% opacity
- a couple of luminosity and color gradients on the background
- a bubbles brush (there are other great, free underwater brushes online if you go searching for them)
- a selective color layer that helped shift some of the red skin color towards the blue spectrum.
- Some doging and burning using a medium gray layer in “Overlay” mode and painting on it with a white and black brush at low opacities. This helped to sculped some of the features a little. Sadly this is usually done way to much, therefor I usually reduce the effect once I’ve applied it, so that it is only just visible.
- (bonus:) if it’s not too distracting, you can add reflective water surface patterns to the parts of the skin that are facing upwards. Use levels to increase the contrast of the original image, then use the “lighten” blending mode to overlay them with the skin part, mask out the parts you don’t need. Lastly, Use liquify to bring the pattern in shape (i.e. elongate the pattern where the light is not hitting a straight-on surface – like the sides of the arm etc.) – for reference, check out the picture at the end of the tutorial.
And that’s it. I hope you’ve enjoyed my tutorial.
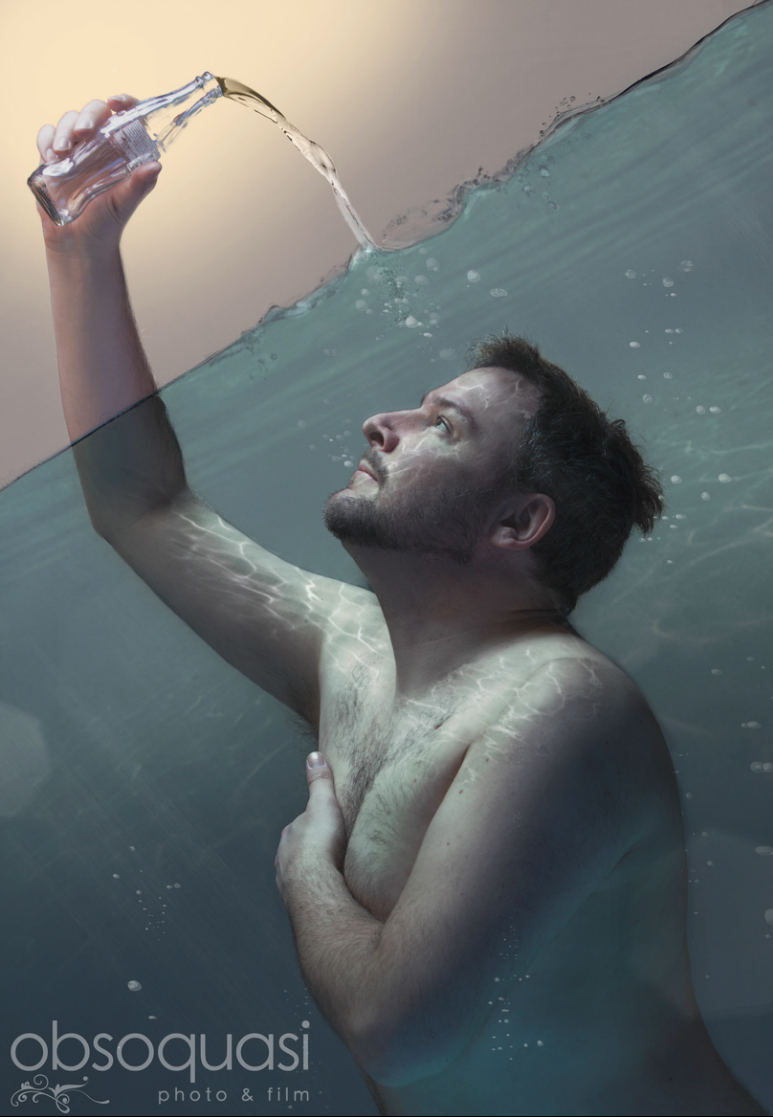
reflective patterns for fake underwater photography
Yes, it well done. You are very good. Salut.